Virtual walkthroughs have become popular in real estate, gaming, and museums. But have you ever wondered how these virtual experiences are made? The process involves several steps, and a crucial part of it is the use of 3D render software. This article aims to shed light on what goes on behind the scenes in creating a virtual walkthrough.
The Planning Phase: Setting Objectives and Scope
The first step in creating a virtual walkthrough is the planning phase. This is when the creators decide what the goals of the walkthrough will be. Are they trying to sell real estate? Showcase a new video game world? Or take you on a historical journey in a virtual museum. The objectives will greatly influence what the final product will look like. The scope is also determined during this phase, which means deciding how big the walkthrough will be, what areas will be covered, and what the timeline for completion looks like. With a plan in place, it’s much easier to move on to the next steps without wasting time or resources.
Creating the Virtual Environment: Where Design Meets Technology
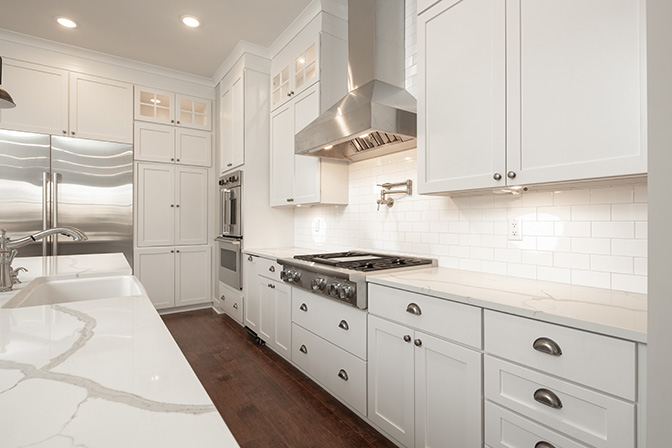
After planning, the next step is creating the environment where the walkthrough will happen. Designers and tech experts come together to start building the world, usually with the help of advanced 3D rendering software. Designers first create 2D layouts that map out the space. These 2D plans serve as the skeleton of the project. From there, 3D models are made, bringing the 2D layouts to life. Each object in the environment, from big structures like buildings to small details like furniture, is designed and placed in this virtual space. This process can take a lot of time because getting it right means ensuring it looks real and matches the project’s objectives.
Adding Interactivity: More Than Just a Tour
A virtual walkthrough is not just about looking around a space. It’s also about interacting with it. That’s why the next stage involves adding interactive elements. These could range from clickable buttons that give you more information about an object to complex tasks like solving a puzzle to move to the next room. Adding interactivity makes the experience much more engaging and gives users a reason to spend more time exploring the virtual space. For example, in a real estate walkthrough, interactive elements might include being able to open doors or change the color of the walls.
Final Checks and User Testing: Making Sure It Works
Before a virtual walkthrough is ready for the public, it goes through rigorous testing. This is a crucial step in the development process because it’s the first time the walkthrough is experienced as a complete product. Testers go through the walkthrough multiple times, checking for errors, glitches, or any other issues that need fixing. Feedback from this phase is used to make final adjustments. Once the project passes this stage, it’s ready to be launched and experienced by users.
Adobe experts add, “3D rendering software takes all the data associated with the 3D model and renders it into a 2D image. Thanks to new texturing and lighting capabilities, that 2D image may be indistinguishable from a real photograph, or it may look purposefully stylized — that’s up to the artist and the goal of the visualization.”
Creating a virtual walkthrough is a complex but rewarding process that involves careful planning, skilled design, and technological expertise. From setting objectives and scope in the planning phase to creating the 3D environment, adding interactive elements, and conducting final checks through user testing, each step is essential for a successful final product.


