Changing filament mid-print is a crucial skill for anyone who does 3D printing. Whether you need to switch colors and materials or simply replace an empty spool, mastering this technique is essential for perfect printing projects. It allows you to make more creative designs and details and also makes sure that your prints are not interrupted by filament issues.
In this article, we will provide a detailed, step-by-step guide to changing filament mid-print. After reading this blog, you'll be able to smoothly and efficiently make the switch without compromising the quality of your print.
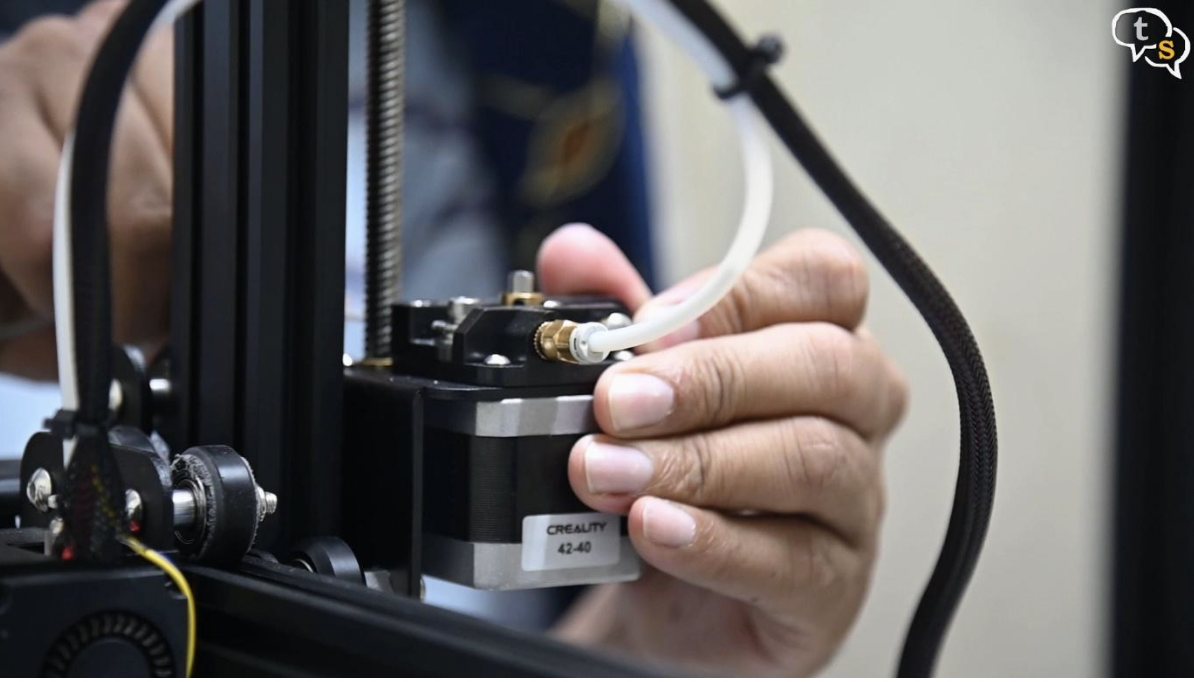
Changing filament mid-print is a common practice among 3D printer users. It allows for color changes, material switches, or replacing an empty spool without halting the print job. Achieving a smooth transition requires following specific steps to maintain print quality. High-quality 3D printers, such as the AnkerMake M5 or AnkerMake M5C, make filament changes easier. This enhances the overall printing experience. Let’s check them out.
AnkerMake M5 3D Printer
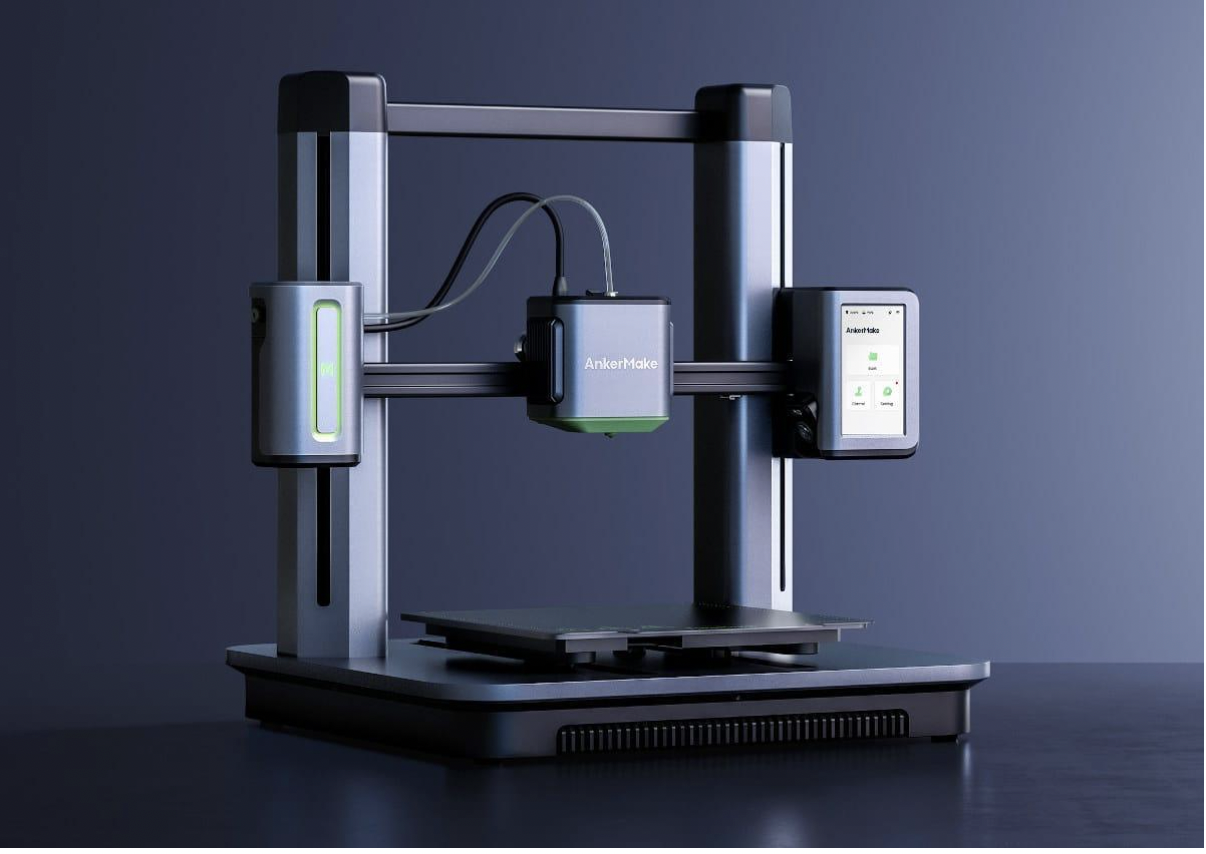
The AnkerMake M5 3D Printer sets a new standard with its impressive speed of 500 mm/s. Its direct drive extruder gives high detail with 0.1 mm precision, even at accelerated speeds. The integrated AI camera monitors prints in real-time. It creates auto-generated timelapses and provides accuracy.
The AnkerMake M5 3D Printer has 7×7 auto leveling and a sturdy aluminum alloy structure. It promises easy assembly and stability. The extruder reaches temperatures up to 260°C, and the bed heats up to 100℃. This temperature range accommodates various filament types.
With PowerBoost™ 2.0 technology, this 3D printer doubles printing speed and acceleration while maintaining quality. It is suitable for all experience levels. The AnkerMake Slicer and App also allow for easy adjustments and slicing. You can effortlessly polish your 3D printing with the AnkerMake M5 3D Printer. It combines advanced technology with user-friendly design to broaden the possibilities of 3D printing.
AnkerMake M5C 3D Printer
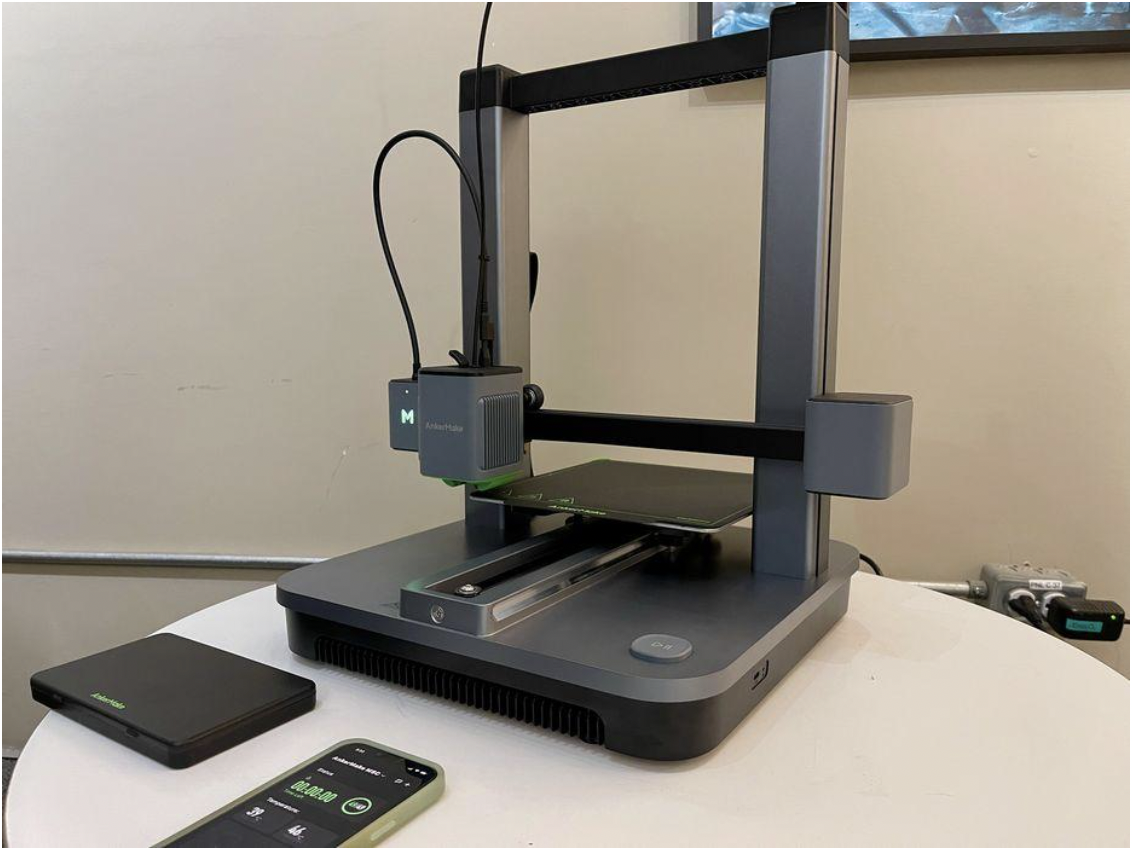
The AnkerMake M5C 3D Printer represents the next generation of high-speed and precise 3D printing. It achieves a rapid printing speed of 500 mm/s while maintaining high quality. It has an extrusion flow of 35 mm³/s and 0.1 mm precision and gives exceptional detail and accuracy. The 7×7 auto leveling system and robust aluminum alloy structure provide stable printing and easy assembly. Its all-metal hotend enhances durability and reliability.
The M5C supports various nozzle sizes and allows customization of your printing experience. A 0.2 mm nozzle can produce finer details with a 0.1 mm layer thickness for smoother surfaces. Multi-device control and a customizable one-click button simplify operations. The AnkerMake M5C provides precision and speed and sets a new standard in 3D printing technology.
How to Change Filament During 3D Printing?
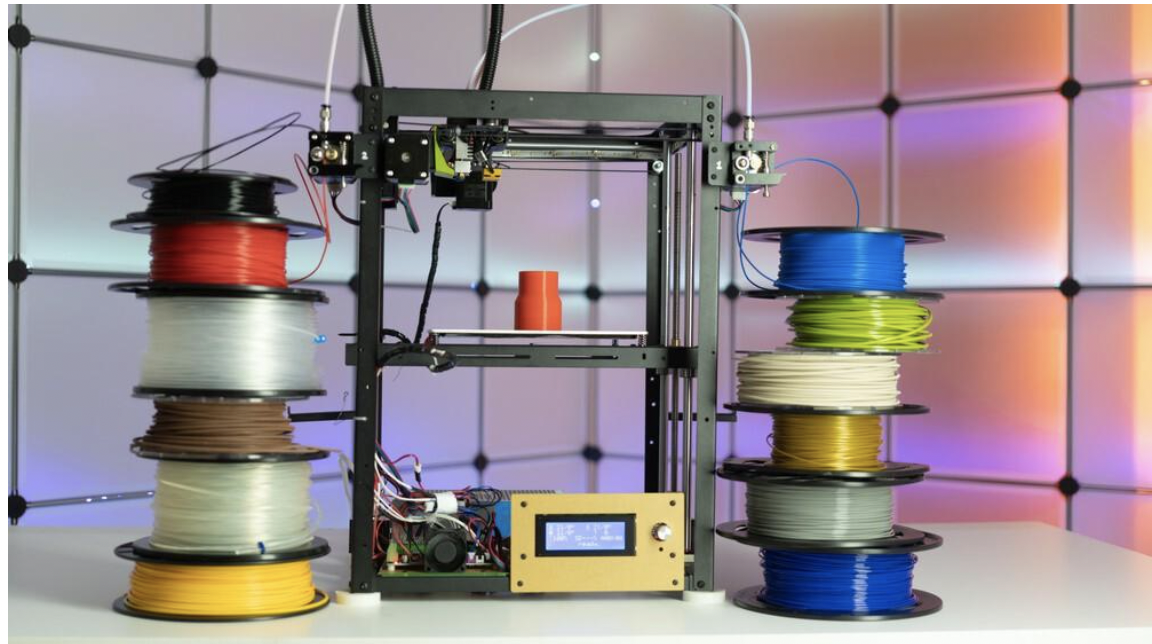
Step-by-step Guide to Changing Filaments During a 3D Print
Begin by pausing the print through your printer’s control panel. Adjust the bed and nozzle temperatures as necessary. For example, lower the temperature for the current filament or increase it for the new filament if it requires a higher temperature.
Retract the filament from the extruder. On AnkerMake 3D printers, click the "Retract" button and choose a retraction length suitable for your printer and filament type. Ensure the filament is retracted sufficiently to avoid clogging or jamming.
Carefully remove the old filament to prevent damaging the extruder or filament feeder.
Load the new filament and ensure proper alignment and feeding into the printer. For AnkerMake 3D printers, cut the filament head at a 45° angle to facilitate easier insertion.
Before resuming the print, extrude some of the new filament to purge any remaining old filament from the nozzle. Continue extruding until you see a consistent flow of the new material. This indicates a clean transition.
While the printer should continue from where it paused, there may be minor imperfections or color variations in the area where the filament was changed. Post-processing or adjustments may be necessary based on the print's specifications.
Changing filament mid-print is a vital skill in 3D printing. It requires careful attention to detail for a seamless transition. Here's how to do it effectively.
Make sure the new filament is compatible with your printer and the filament previously used. This is crucial when you're switching filament types. Adjust your printer settings to match the new filament's specifications.
To minimize downtime and reduce the risk of print errors, prepare the new filament before pausing the print. This step is essential for a smooth changeover.
Different materials require different temperature settings due to their varying melting points. For example, PLA typically prints at 190°C to 220°C, while ABS requires 220°C to 250°C.
Before inserting the new filament, ensure the extruder is free of any residue from the previous filament. This prevents color mixing and blockages and gives a clean transition.
Install the new filament firmly to avoid uneven printing or extrusion errors, which can affect print quality.
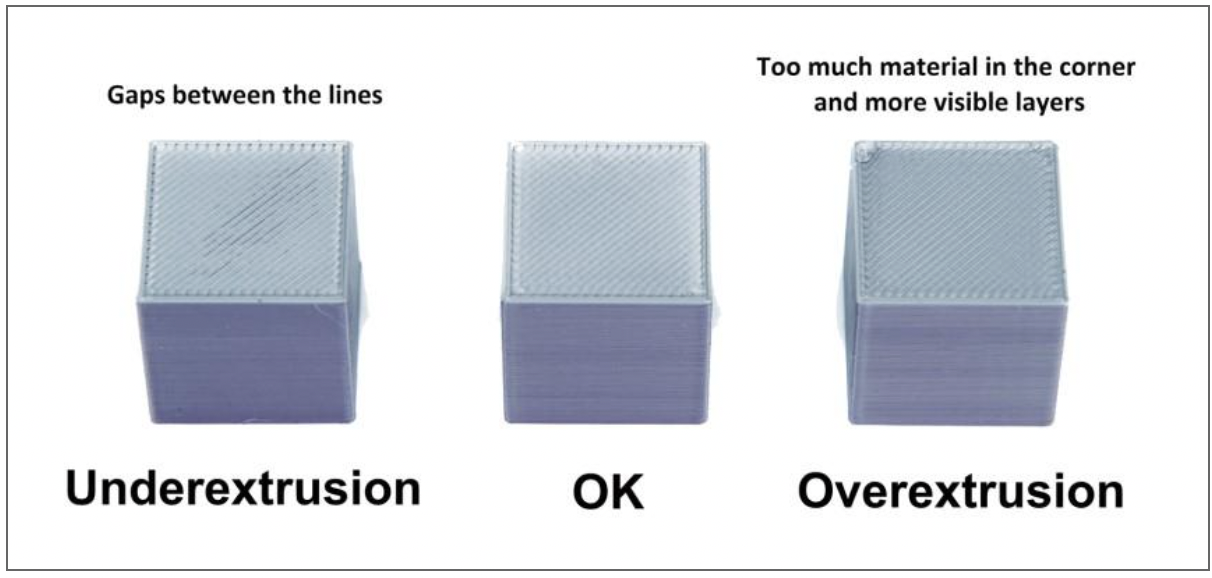
Conduct a brief test extrusion before resuming the print to make sure the new filament flows correctly. This step confirms the printer is ready to continue with the new material.
1) Can I change filament mid-print with different types, such as switching from PLA to ABS?
Yes, you can switch filament types mid-print. Make sure that your printer is compatible with the new filament type, and adjust the temperature settings accordingly for a smooth transition.
2) How can I be sure that there's a smooth transition between filaments?
To ensure a smooth filament transition, pause the print carefully, properly load the new filament, and check that it extrudes smoothly before resuming. Regular printer maintenance also contributes to better results.
3) What should I do if the filament runs out mid-print?
If your filament runs out during a print, simply pause the print, replace the spool, and then resume printing. You can also use an external filament monitor to automatically pause the print when the filament runs out.
There are a lot of 3D modeling software available that you can use to prepare your dental designs and prepare them for 3D printing and a good example is SelfCAD. It is a powerful 3D design software that you can use to create 3D models from scratch or edit existing designs and customize them based on your needs.
If the files have issues like unnecessary holes, you can fill them easily using the various tools of the software. After preparing your files, you can then use the built-in online slicer of the software to slice your files and generate the Gcode to send to your 3D printer. Learn how SelfCAD slicer works in the video below.
https://www.youtube.com/watch?v=lpf38aMk8d8
In addition to being easy to use, SelfCAD also comes with many resources to help you get started with ease. There are many interactive tutorials to help you learn by actually creating 3D models. There is also a SelfCAD academy for those who like to follow step-by-step courses. 3D modeling 101 series and 3D modeling for beginners videos on YouTube are also great resources to help you learn how SelfCAD works and how you can use it to create your 3D models.
Mastering the art of changing filament mid-print enhances your 3D printing skills. With the right techniques and equipment, transitioning between filaments becomes easier. It gives you uninterrupted creativity and precision. Whether switching colors and materials or simply replenishing spools, you must follow the aforementioned steps, like pausing, retracting, and purging, to have quality prints. Apply these practices to have a better 3D printing experience.