Trusted Local News

How To Build A Pond Waterfall in 11 Steps

  • News from our partners

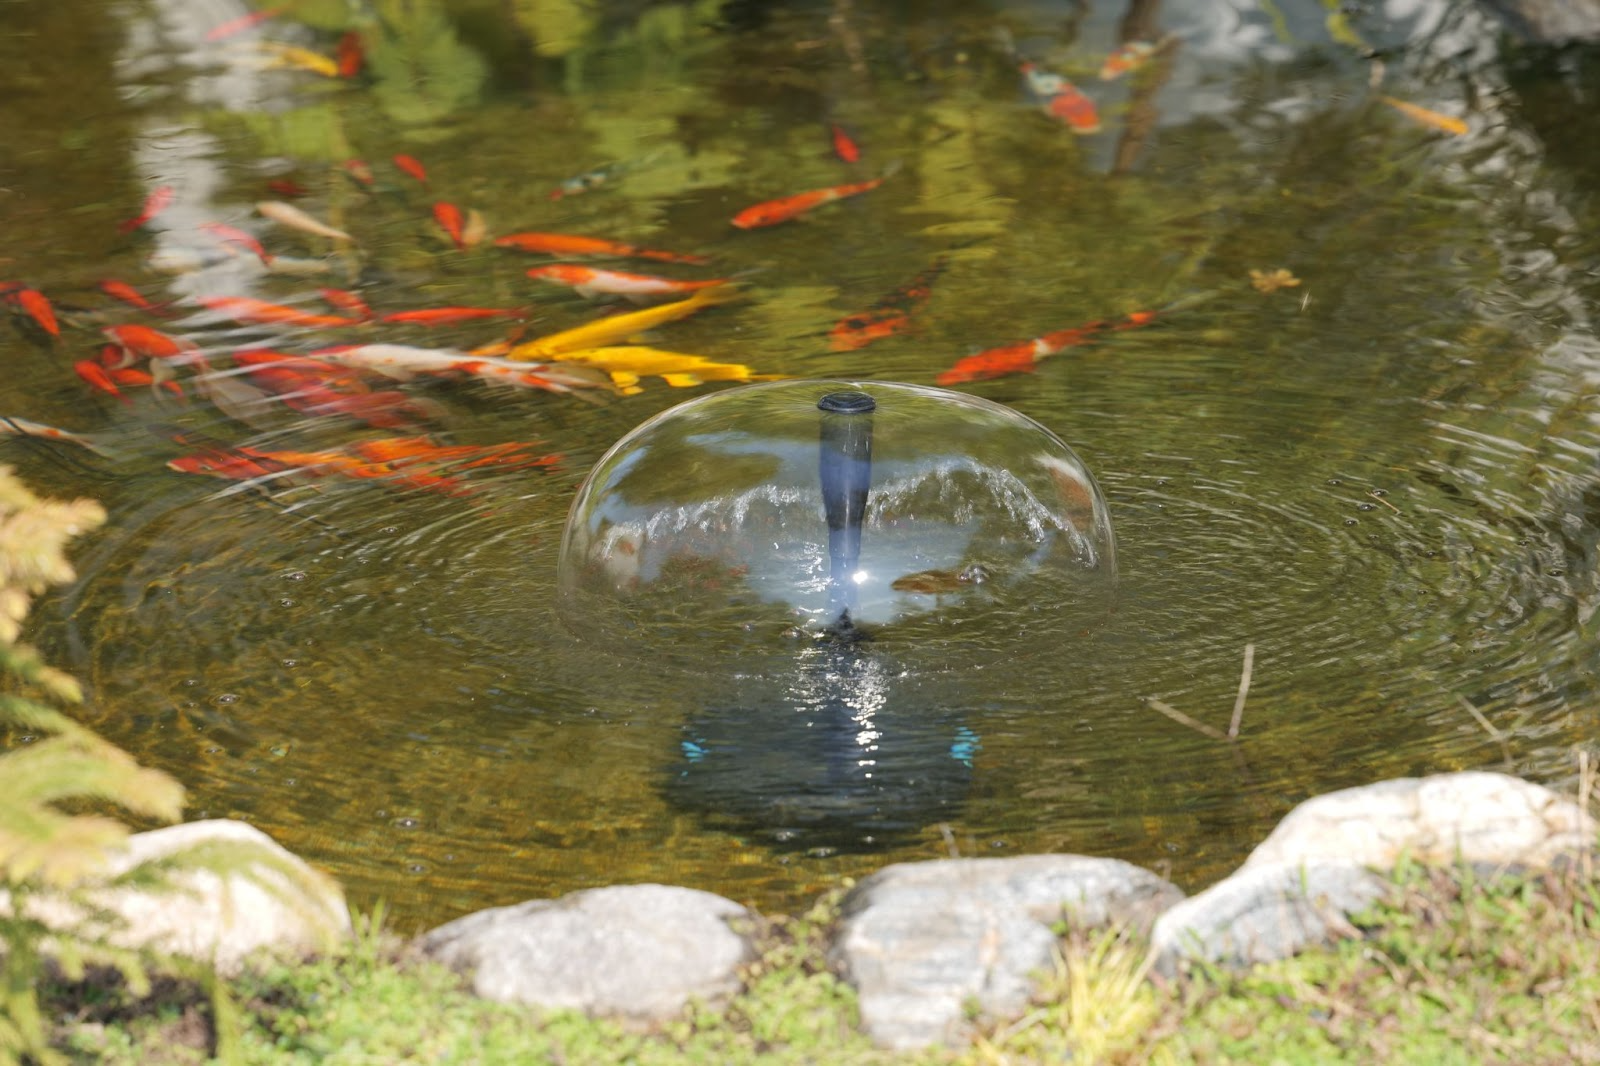
Few backyard projects offer the peaceful charm and sensory appeal of a waterfall cascading into a tranquil pond. 

The sight and sound of water flowing over rocks can transform any outdoor space into a serene retreat. If you’ve been dreaming of creating your own pond waterfall, you’re in the right place.

Why Build a Pond Waterfall?

Before diving into the how-to, let’s take a moment to appreciate the benefits of building a waterfall for your pond:

  • Visual appeal: Waterfalls create dynamic movement and texture.

  • Soothing sound: The trickling water masks unwanted noise.

  • Improved oxygenation: Keeps your pond water healthy for fish and plants.

  • Enhanced circulation: Reduces algae growth and stagnation.

Best of all, you don’t need to be a contractor or landscape architect to build one. With the right tools, materials, and a clear plan, you can complete a backyard waterfall in a weekend or two.

Materials & Tools You’ll Need

Before beginning your build, gather the following materials:

Essential Materials:

  • Liner and underlayment (EPDM liner is most durable)

  • Rocks and boulders (varied sizes)

  • Gravel and small stones

  • Flexible piping (tubing)

  • Pump for ponds and waterfalls

  • Biological and mechanical filters

  • Waterfall spillway or weir

  • Construction adhesive (waterproof)

Optional but Recommended:

  • Filtration system for a pond

  • Solar water pumps (for eco-friendly operation)

  • Lighting kits (for nighttime ambiance)

  • Pond skimmer

Tools:

  • Shovel

  • Garden hose

  • Wheelbarrow

  • Level

  • Utility knife

  • Rubber mallet

  • Work gloves

Step 1: Plan Your Design

Start by visualizing your ideal waterfall. Ask yourself:

  • Where will the waterfall start and end?

  • How high will it be?

  • Do you want a single cascade or multiple tiers?

  • Will it be incorporated into an existing pond?

Sketch your plan on paper. Consider the natural slope of your yard. If your backyard has a slight incline, take advantage of it; it’ll reduce the amount of digging and materials needed.

Keep in mind that the waterfall should look natural. Use curves and irregularities in your layout to mimic nature.

Step 2: Choose the Right Location

Location matters. Choose a spot that:

  • Is visible from key areas like patios or windows

  • Receives partial sunlight (to reduce algae growth)

  • Has access to a power source (unless using solar water pumps)

  • Avoids large trees (to reduce debris and root interference)

Also, think about drainage and runoff. You don’t want rainwater overflowing into your pond or undermining your waterfall structure.

Step 3: Dig the Pond and Waterfall Stream

If you're building a new pond, this step will take some effort. Use spray paint or a garden hose to mark the pond and stream path. Then, dig the pond to the desired depth, usually at least 18–24 inches deep for fish.

Dig a trench from the top of the waterfall to the pond. This will be the path your water takes. Create steps or ledges for each tier of the waterfall to create different cascading effects.

Create shelves at different heights for plants and rocks to give a layered, natural appearance.

Step 4: Lay the Underlayment and Liner

Place a pond underlayment to protect the liner from sharp rocks or roots. Then, lay out your pond liner, making sure it covers the entire pond and waterfall path with extra material at the edges for anchoring.

Smooth out wrinkles as much as possible. Leave enough liner at the top of the waterfall to overlap the spillway or basin.

Step 5: Install the Spillway or Weir

Your waterfall needs a structured spillway or weir to guide water flow and prevent erosion.

  • Position the spillway at the highest point of your stream.

  • Level it properly so the water flows evenly.

  • Attach the liner to the spillway with screws or adhesives according to the manufacturer’s instructions.

This piece helps control the width and smoothness of the waterfall’s flow.

Step 6: Place the Pump and Tubing

Install your pump for ponds and waterfalls at the lowest part of your pond, ideally in a skimmer box or protective mesh housing.

  • Connect tubing to the pump and run it discreetly along the stream bed or under the liner to the spillway.

  • Use a check valve to prevent backflow when the pump is turned off.

  • If you’re using solar water pumps, make sure the solar panel is positioned to receive full sun for most of the day.

Choose a pump that can circulate your entire pond volume every 1 to 2 hours. Match your pump’s flow rate (GPH, gallons per hour) to the height and width of your waterfall.

Step 7: Install the Filtration System

Clean, healthy water is essential. Install a filtration system for a pond that includes:

  • Mechanical filters to catch debris

  • Biological filters to break down waste

  • UV clarifiers (optional) to control algae

Some systems integrate with the pump; others are standalone units. Place filters in easy-to-access locations for maintenance. Filters not only keep the water clear but also ensure your waterfall runs smoothly without clogging.

Step 8: Position the Rocks and Boulders

Now comes the fun and creative part, arranging rocks to shape your waterfall and stream.

  • Use large boulders on the outer edges to frame the falls.

  • Place flat rocks across tiers to form ledges for water to cascade.

  • Stack smaller stones to fill gaps and support larger ones.

  • Hide tubing behind or under rocks to keep the look natural.

Take your time. Step back often to assess the composition and adjust for realism and flow.

Step 9: Test the Water Flow

Before sealing everything in place, turn on the pump and test the waterfall.

  • Adjust rock positions to control water direction and splash.

  • Check for leaks or overspills along the liner edges.

  • Ensure water flows smoothly back into the pond.

Look and listen. You should hear a gentle trickling sound, not splashing or gurgling. Make tweaks until you achieve the perfect flow.

Step 10: Secure Rocks and Finish Edging

Once you're satisfied with the layout and water flow:

  • Use waterfall foam or construction adhesive to lock rocks in place.

  • Cover visible liner edges with gravel, mulch, or plants.

  • Add decorative features like driftwood or statuary to personalize the space.

This step polishes your project, blending the pond seamlessly into the landscape.

Step 11: Add Plants, Lighting, and Finishing Touches

Enhance your pond’s ecosystem and aesthetics with the right finishing elements.

Aquatic Plants:

  • Water lilies

  • Pickerel rush

  • Water hyacinth

Marginal Plants:

  • Iris

  • Marsh marigold

  • Horsetail reed

Lighting:

  • Submersible LED lights for nighttime ambiance

  • Pathway lights to illuminate walkways

  • Solar-powered uplights to highlight trees or large rocks

Lighting adds a magical quality and makes your pond waterfall usable after dark. For a sustainable setup, incorporate water pumps and solar lights to reduce energy use and wiring complexity.

Maintenance Tips for Long-Term Enjoyment

Your pond waterfall will require regular care to keep it looking and functioning beautifully.

  • Clean filters and pump monthly (more often in fall or heavy debris seasons).

  • Top off water levels regularly due to evaporation.

  • Trim aquatic plants to avoid overgrowth.

  • Inspect the tubing and spillway for leaks or blockages.

  • Winterize your system by removing the pump (unless rated for cold) and draining exposed tubing.

With consistent maintenance, your waterfall will remain a relaxing and visually stunning feature for years.

Final Thoughts

Building a pond waterfall is a rewarding DIY project that combines creativity and function. With the soothing sounds of flowing water and the beauty of rocks and plants, your waterfall will become a focal point in your backyard.

Follow these 11 simple steps to create a waterfall that enhances your landscape and supports a healthy pond environment. Choose a reliable pump, install an efficient filtration system, and consider eco-friendly options like solar-powered water pumps.

Whether you're hosting a party or relaxing after a busy day, your waterfall will provide peaceful moments. Grab your shovel and stones, and create something special!

author

Chris Bates

"All content within the News from our Partners section is provided by an outside company and may not reflect the views of Fideri News Network. Interested in placing an article on our network? Reach out to [email protected] for more information and opportunities."

STEWARTVILLE

JERSEY SHORE WEEKEND

LATEST NEWS

Events

December

S M T W T F S
30 1 2 3 4 5 6
7 8 9 10 11 12 13
14 15 16 17 18 19 20
21 22 23 24 25 26 27
28 29 30 31 1 2 3

To Submit an Event Sign in first

Today's Events

No calendar events have been scheduled for today.